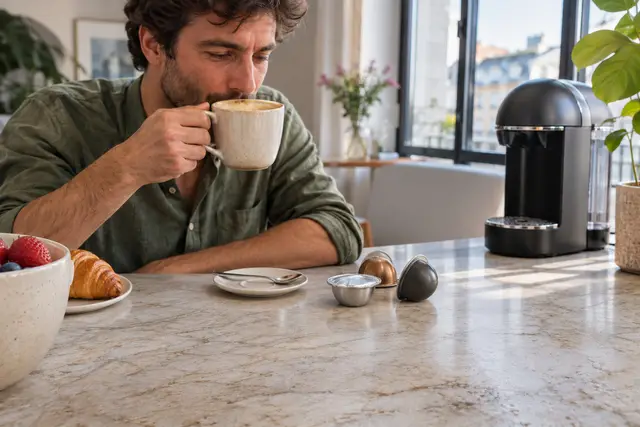
A homemade coffee pod is made by enclosing fresh grounds yourself in a small bag of filter paper, cut to the dimensions of the machine's basket. You thus prepare tailor-made portions, with the coffee of your choice, the weight you want and a neat seal. The practice interests those who own a machine taking soft 44 mm pods and want to save money, vary their coffees or limit packaging, provided they accept a little time and rigour in the making each time.
Why make your own pods
The reasons are above all economic and a matter of taste. Packet ground coffee costs less than the industrial portion, and home blends let you compose your own cup. It is also an ecological gesture: you cut out the individual bag and choose simple materials.
This approach does, however, assume a machine whose basket accepts a soft disc. It does not replace a rigid capsule, whose airtight seal is impossible to reproduce at home.
The equipment needed
- Food-grade filter paper not bleached with chlorine, in sheets or on a roll.
- A cutter or a circular template the size of the basket.
- Kitchen scales accurate to the gram.
- A teaspoon and a funnel.
- A burr grinder, if you grind your own.
- Food-grade thread or a fold-over closure, depending on the method.
The paper must be thin but strong, permeable to water and tasteless. Avoid kitchen roll, which tears under pressure and releases fibres.
The right grind
The grind must be fine, comparable to that of an espresso, but not powdery. Too coarse, and it lets water through without soaking it; too fine, and it forms a compact paste that blocks the flow. Grinding just before preparation gives the best result, because the aromas are quickly lost after grinding.
A burr grinder offers a regular particle size. Blade grinders suit less well, as they produce particles of uneven size.
Dosing
A weight close to seven grams suits a 44 mm pod, according to common manufacturer practice. Weigh the first portions carefully and note the level obtained in the seat. If your machine's basket is deeper, increase the weight slightly, but not to the point of hindering the locking.
The making steps
- Cut two paper discs slightly larger than the basket.
- Lay the first one flat and place the grounds in the centre.
- Level them with the back of a spoon, without tamping hard.
- Cover with the second disc.
- Fold or seal the edges by turning the paper over in small, tight pleats.
The folding must be even and flat. A raised edge stops the pod from sitting flat in the basket, and the water then bypasses the coffee.
The seal
Several methods exist. Simple folding, like a pasty, is enough for immediate use. For keeping a few days, you can sew the edge with large stitches using uncoloured food-grade thread, or use food-safe glue in a very thin layer. Avoid metal staples, which risk damaging the machine, and non-food glues.
Some enthusiasts use an iron on a very low setting over heat-sealable paper, but this paper must be specifically designed for food contact.
Testing and adjusting
Insert the first pod into the machine and watch the flow. A steady stream, hazelnut in colour, indicates a good setting. A flow that is too fast betrays a grind that is too coarse or a dose that is too small; too slow, it signals the opposite. Adjust one parameter at a time and note your settings.
It is normal to spoil the first preparations. After a few attempts, the movement becomes quick and the shape even.
Keeping home-made pods
Unlike an industrial pod, the home-made pod has no protective barrier against air. It must therefore be made at the last moment, or at the earliest the day before, and kept in an airtight box. Beyond a few days, the aromas decline markedly. For a larger batch, it is better to keep the grounds in a closed jar and fill the pods on demand.
A simpler alternative: the refillable basket
If time is short, a stainless steel refillable basket fulfils exactly the same role, with a perfect closure and a lifespan of several years. It spares you the cutting, folding and sealing, and is cleaned in a few seconds. The home-made pod keeps the advantage of not requiring basket cleaning, since everything is thrown away afterwards.
Precautions
Work on a clean surface, with washed hands, and use only materials suited to food contact. Never force a pod that is too thick into the basket: an excess of coffee can prevent locking or make the pressure rise. Keep scissors and cutters out of the reach of children.
Frequently asked questions
Can you make a rigid capsule at home?
Not reliably: the seal and the shape depend on industrial manufacture, and a badly formed cup risks damaging the machine.
Is the coffee in a home-made pod as good?
Yes, sometimes better, since it is ground at the last moment, provided the seal is neat.
How long does it take to prepare one?
A few minutes for the first ones, under a minute with practice.
Working out what you save
The saving depends on the coffee chosen, but the logic is universal: packet ground coffee costs less per cup than the industrial portion, and filter paper represents only a fraction of the cost. To measure the saving, add up the price of the paper, the coffee and any tool, then divide by the number of cups. Then compare with the price of a shop-bought pod brought down to the unit.
The time spent is part of the calculation. If you value every minute, making them can become less worthwhile for a few cups, but it remains worthwhile for large batches prepared in one go.
Organising a making session
Plan about ten portions at a time and work in a line: cut all the discs, lay them out in pairs, weigh the coffee in a small bowl, then fill. This organisation cuts out unnecessary movements and guarantees similar weights from one portion to the next. Close each pod as soon as it is filled, before the grounds spread out.
Put the batch straight away in an airtight box, labelled with the date of preparation, and use it in order.
Customising your blends
Making at home allows blends that are impossible to buy: half mild arabica, half a stronger coffee; a decaffeinated coffee lifted with a hint of cardamom; a more vigorous morning coffee and a lighter evening one. Note each recipe with the exact proportions so that you can reproduce or improve it.
When you test a spice, stay very restrained: a tiny quantity is enough, and an excess blocks the flow or masks the taste of the coffee.
The limits of the technique
A home-made pod does not reproduce the consistency of an industrial machine. Variations in weight, tamping and sealing result in slight differences in the cup. It does not suit a machine whose seat is narrow or whose shower head is sensitive to coffee fines. Finally, its mechanical strength is lower: a badly sealed disc may open under pressure and release the grounds into the circuit.
In that case, clean the shower head and the basket immediately, and switch to a more reliable method, such as the refillable basket.
In summary
Making your own pods calls for suitable paper, a fine grind, a constant dose and a clean seal. The gain lies in budget, taste and waste. The result remains handmade: it demands consistency, but rewards you with a fresh, personalised coffee.